|
JeVois Tutorials
1.23
JeVois Smart Embedded Machine Vision Tutorials
|

|
|

Loading...
Searching...
No Matches
|
JeVois Tutorials
1.23
JeVois Smart Embedded Machine Vision Tutorials
|
|
|
Many of the machine vision modules that come with JeVois feature nice composite displays that show machine vision results side-by-side with the original video captured by JeVois.
This tutorial will show you how to achieve this in Python + OpenCV. We will use JeVois Inventor because it makes programming Python modules for JeVois so much easier.
First think about your layout. Why do you need several display panels and what information do you want them to convey?
For this tutorial, we will assume that we want to show the original 320x240 video captured by JeVois at left, some 320x240 machine vision results at right, and a 50-pixel-tall area for messages below.
CTRL-N).Fill in the details as shown below:
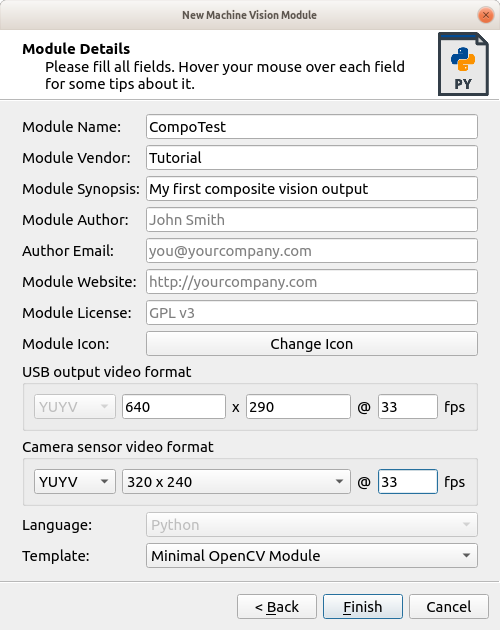
A few notes:
Allow JeVois to restart, select your new module from the Vision Module pull-down menu, and switch to the Code tab.
Let us start simple by just creating a machine vision processing result that is just a blurred version of the input.
We create our composite displays as follows:
And here it is:
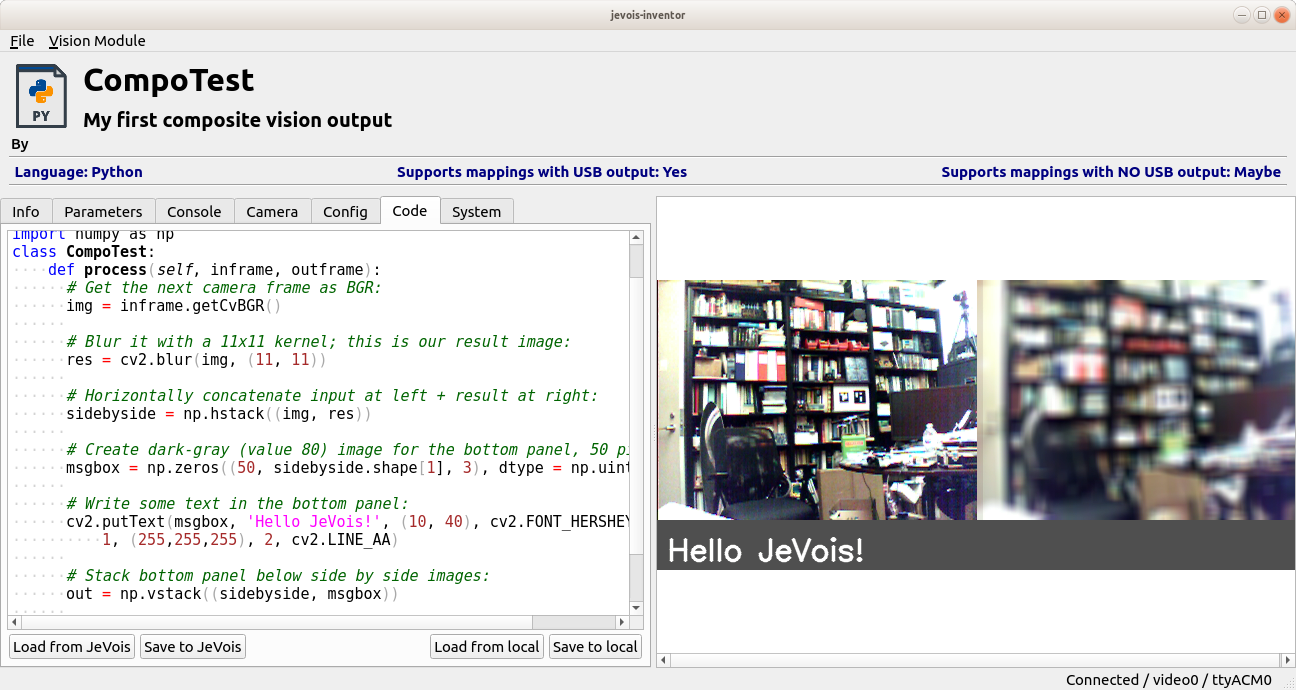
A few things to remember:
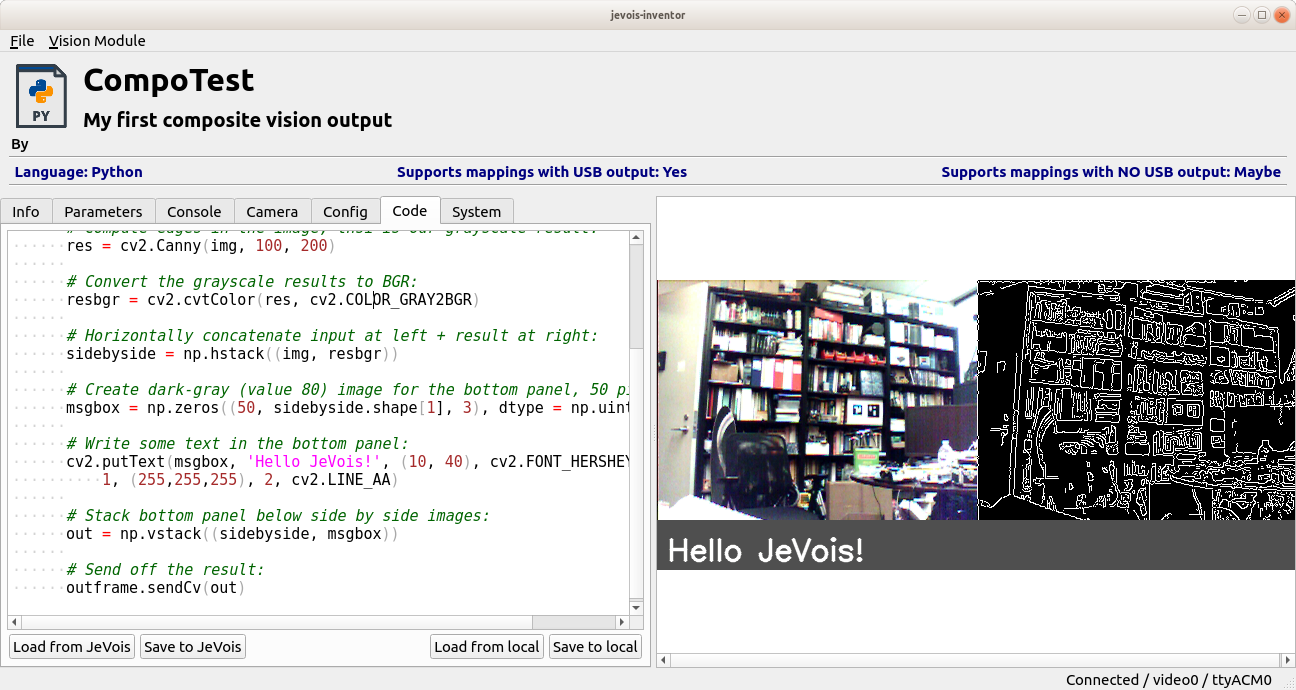
np.zeros() call or the indices of np.shape.cv2.putText().sidebyside.shape[1] instead of just 640 as the width of our side-by-side image.Sometimes results will be obtained which are not in the same pixel format as the input. In such case, just convert those back to BGR before assembling your final composite output.
Here, for example, let us change our results to grayscale by using a Canny edge detector instead of a color blur. We then use cv2.cvtColor() to convert the grayscale edge map back to BGR before creating the side-by-side image:
The method explained in this tutorial works well and is intuitive, but there is significant CPU cost associated with copying and concatenating the BGR images.
A more efficient approach is to directly paste input and result images into the output image buffer that will be sent over USB. This more advanced but more efficient approach is briefly explained in the Tutorial on how to write new machine vision modules in Python, section on "More fine-grained control using JeVois raw images".
 1.9.8
1.9.8