JeVois Tutorials  1.20
JeVois Smart Embedded Machine Vision Tutorials
Share this page:
Using the pre-installed jevois-sdk VirtualBox for development

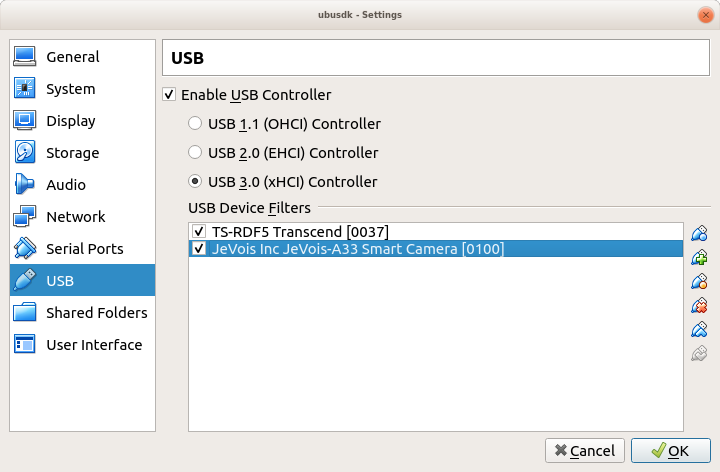
Starting with JeVois v1.12.0, we provide a pre-configured and pre-installed VirtualBox image to facilitate getting started with programming JeVois in C++.

To create the VirtualBox image, we have gone through the following steps:

  • installing Ubuntu 18.04 (bionic) on VirtualBox
  • installing the jevois ubuntu (.deb) packages
  • installing jevois-inventor and trying it out
  • getting the latest jevois source code from github
  • compiling that source code, both for host (your Intel computer) and platform (the ARM CPU inside JeVois)
  • flashing the freshly compiled code to microSD

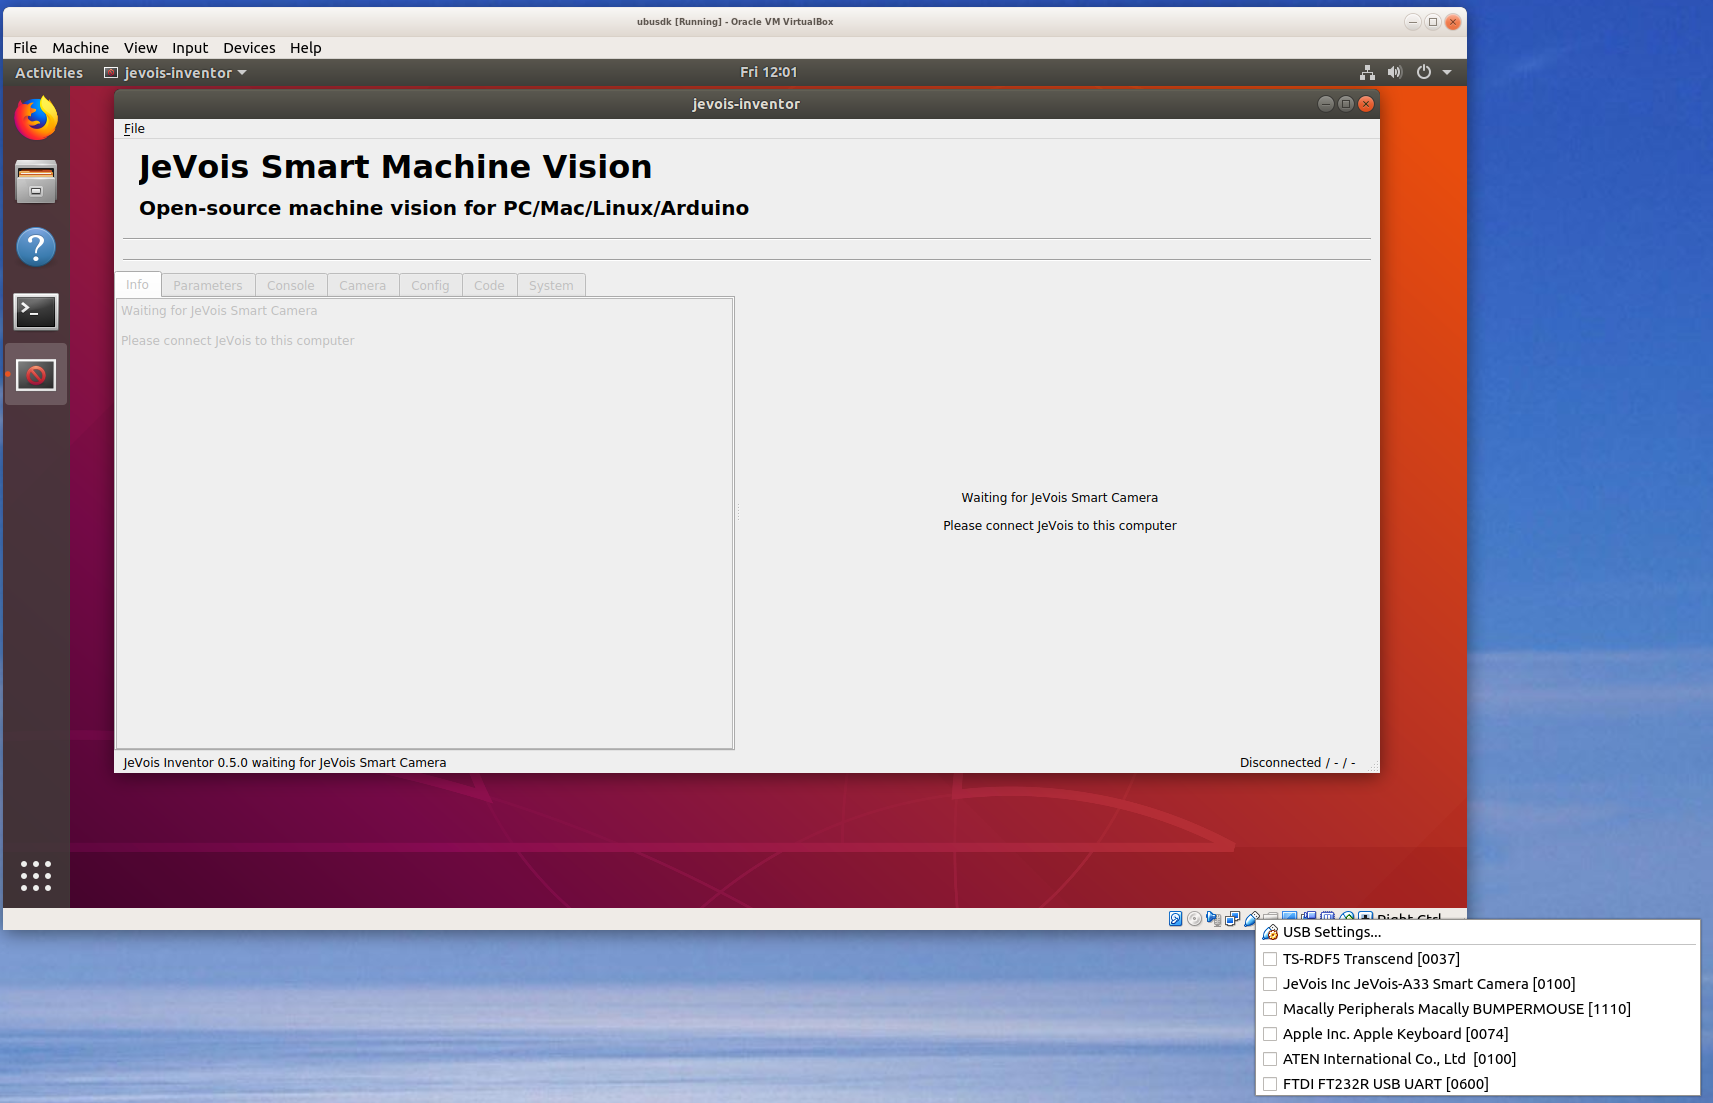
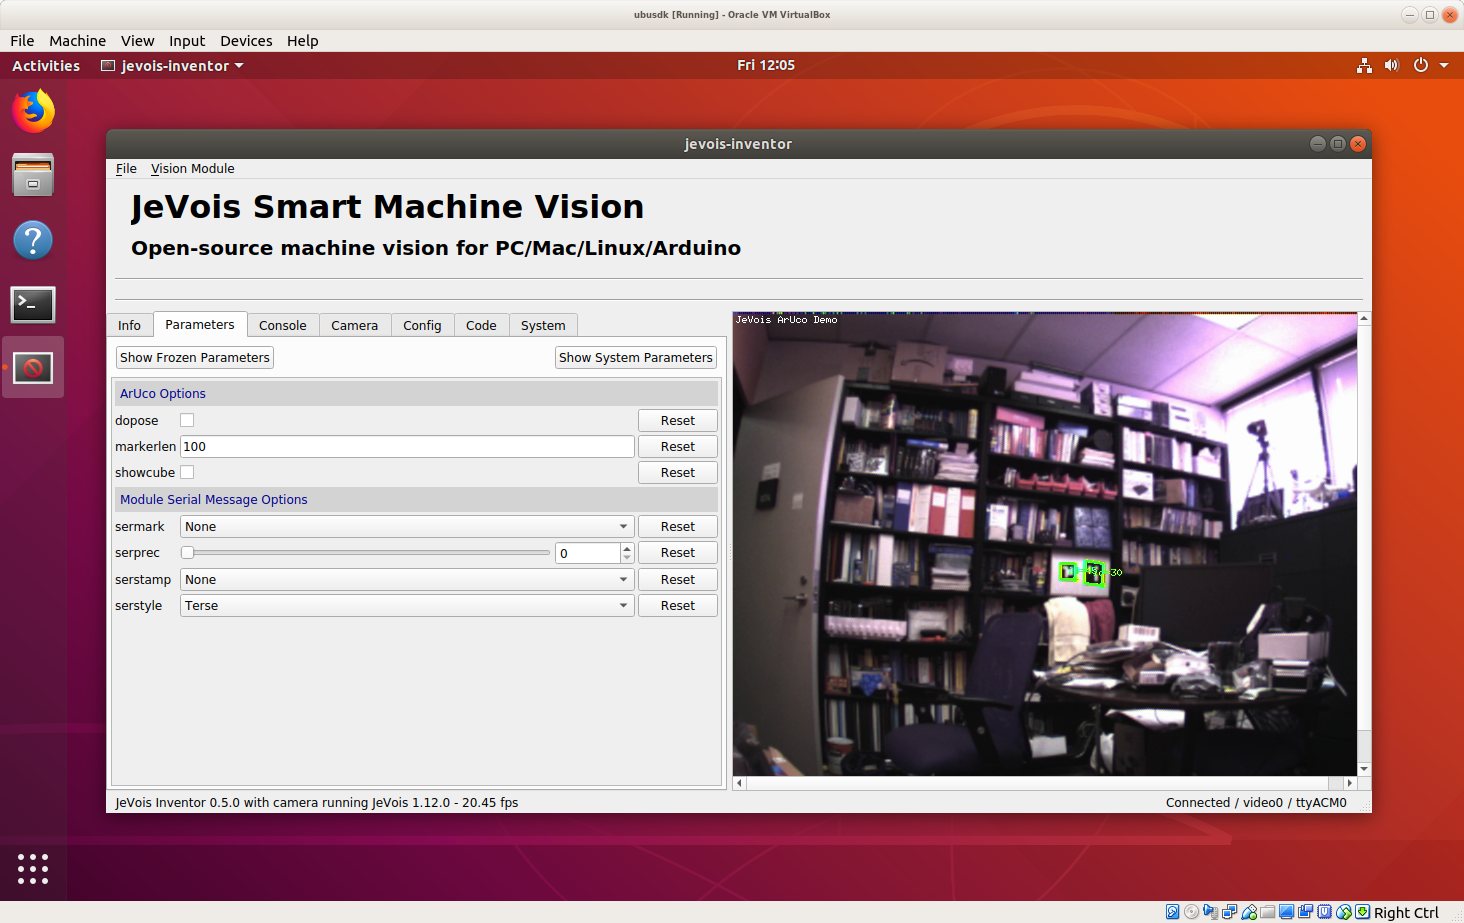
Now you can install and run this pre-configured and pre-installed virtual machine.

Installing and running the machine

  • Download the latest virtual disk image (vdi) from http://jevois.org/start/software.html
  • Unpack it using a 7-zip (7z) unpacker. Beware that it will unpack to a 25GB file, and the virtual disk was set to be allowed to grow to up to 50GB so make sure you have plenty of of disk space.
  • Download and install the latest version of VirtualBox, and the latest extensions pack (important).
  • If your host computer runs Linux, you need to run this to allow access to USB ports:
    sudo adduser $USER vboxusers
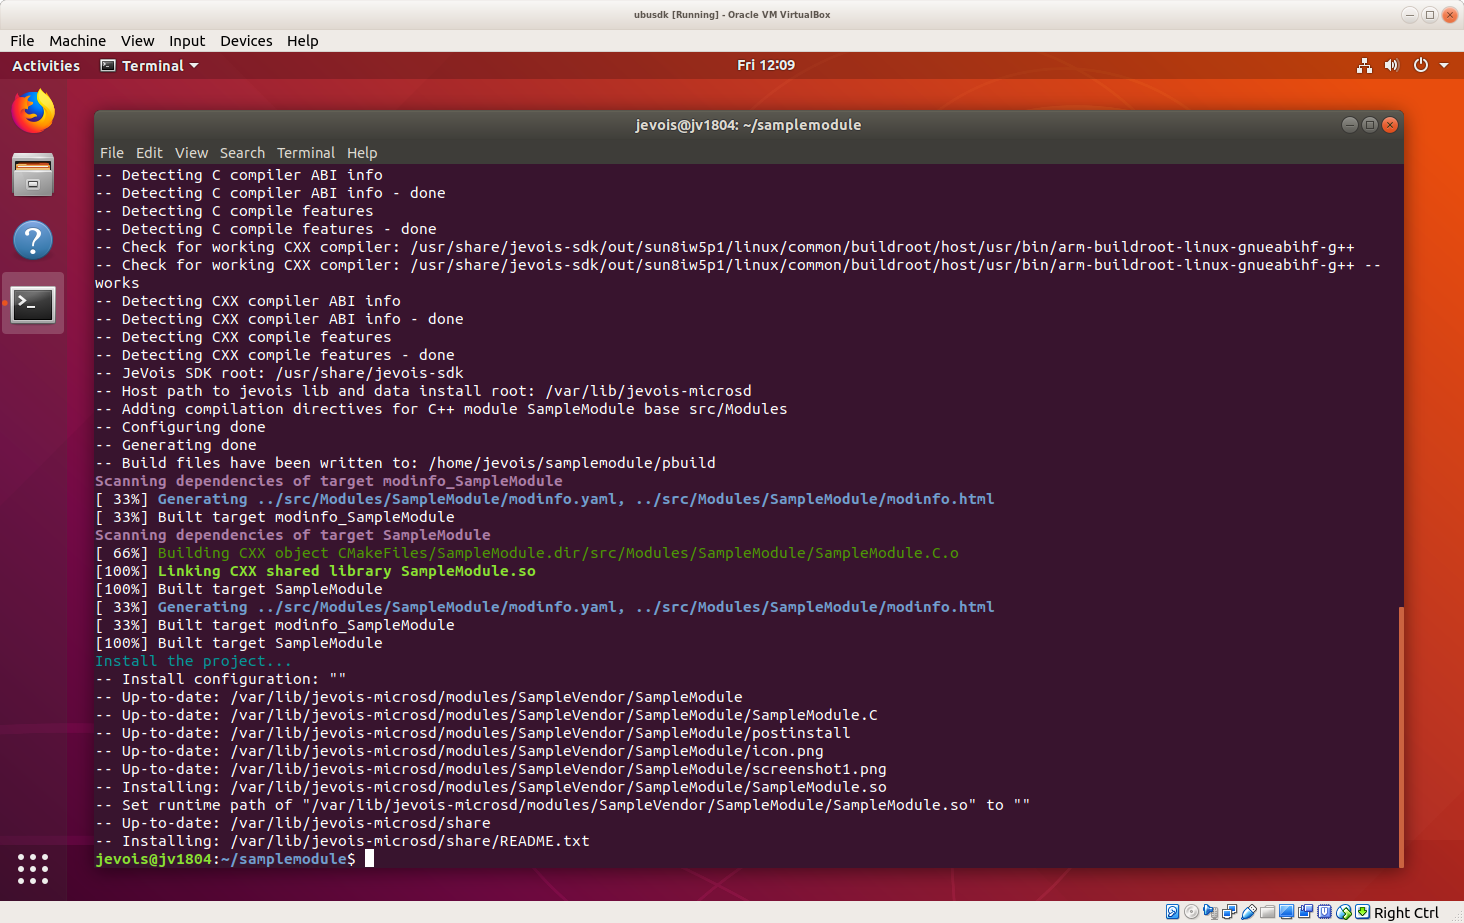
    
  • Reboot your computer. Mac users: yes, really, you need to reboot your mac, otherwise video capture in VirtualBox will not work. Linux users: same for you, you must reboot. Windows users: you are used to doing this!
  • Start VirtualBox and create a new virtual machine. Pick a name (here, ubusdk) and configure it as Linux Ubuntu 64-bit.

  • Select a good memory size depending on your hardware usually going with the recommended size at the limit between green and red works well; on this machine with 768GB of RAM I selected 100GB which should be plenty for the virtual machine).

  • Select to use an existing virtual hard disk image and using the file chooser icon at the right of the name pick the .vdi file you downloaded and unpacked.

  • Before you launch your virtual machine, click on its settings and adjust the number of processor cores. Again select the recommended number at the limit between green and red (here, it looks like VirtualBox maxes out at 32 cores on this 96-core machine),

  • Then you need to install USB device filters. This is so that your JeVois camera and your USB to microSD adapter (which you will use to flash new microSD cards for JeVois) will be made available to your virtual machine as opposed to being used by the host computer when you plug them in. Plug in a working JeVois camera (with microSD card inside) and a USB to microSD adapter with a microSD card inside (you can do these one after the other if you only have one card). They will be detected by your host computer and will be made available to the host by default. Now in the settings of your virtual machine, go to USB (or, on some versions of VirtualBox, go to \s Ports and then click on USB).
  • Select USB 3.0 xHCI
  • Click on the little icon with a USB plug and a '+' to add a USB filter; add one for JeVois and one for your microSD adapter (here a Transcend brand):

  • You should now have both filters installed. Disconnect both JeVois and the microSD adapter.

  • Start your virtual machine and let it boot. It will auto-login user jevois
  • If you need it for sudo, password is jevois
  • Connect JeVois and start jevois-inventor by double-clicking the icon on the Ubuntu desktop. If JeVois is not detected, you may have to enable the filter again by clicking (right-click on some machines) on the little USB plug icon at the bottom right of the virtual machine's screen. You can do the same thing with your flash card reader.

  • You should now see JeVois detected by the Inventor.

  • Now for development, we already pulled jevois, jevoisbase, jevoisextra, samplemodule, and samplepythonmodule from github, and installed all jevois deb packages. So you are ready to compile code.
  • For example, start a terminal (CTRL-ALT-T), and type
    cd samplemodule
    ./rebuild-host.sh
    ./rebuild-platform.sh --staging
    

which will compile and then cross-compile the module. You should get no error, indicating that all jevois tools, cross-compilers, libraries, etc are properly installed and ready to go.

Next steps

You are now ready to go over the Programmer guide

You can skip Using Virtualbox to setup jevois-sdk in a virtual machine

And, in Compiling JeVois core software from source we have already fetched the repositories from github into the home directory of user jevois of the virtual machine. You can just do a git pull inside each of jevois, jevoisbase, etc if you want to pull the latest version (which may not be stable – don't do it until you are ready for it, the version that is already in there by default is stable).

Then check out the other JeVois programmer tutorials