|
JeVois
1.23
JeVois Smart Embedded Machine Vision Toolkit
|
|
|
JeVois
1.23
JeVois Smart Embedded Machine Vision Toolkit
|
|
For more details and step-by-step instructions, see the different sections under User guide
New users, be sure to check out JeVois Start.
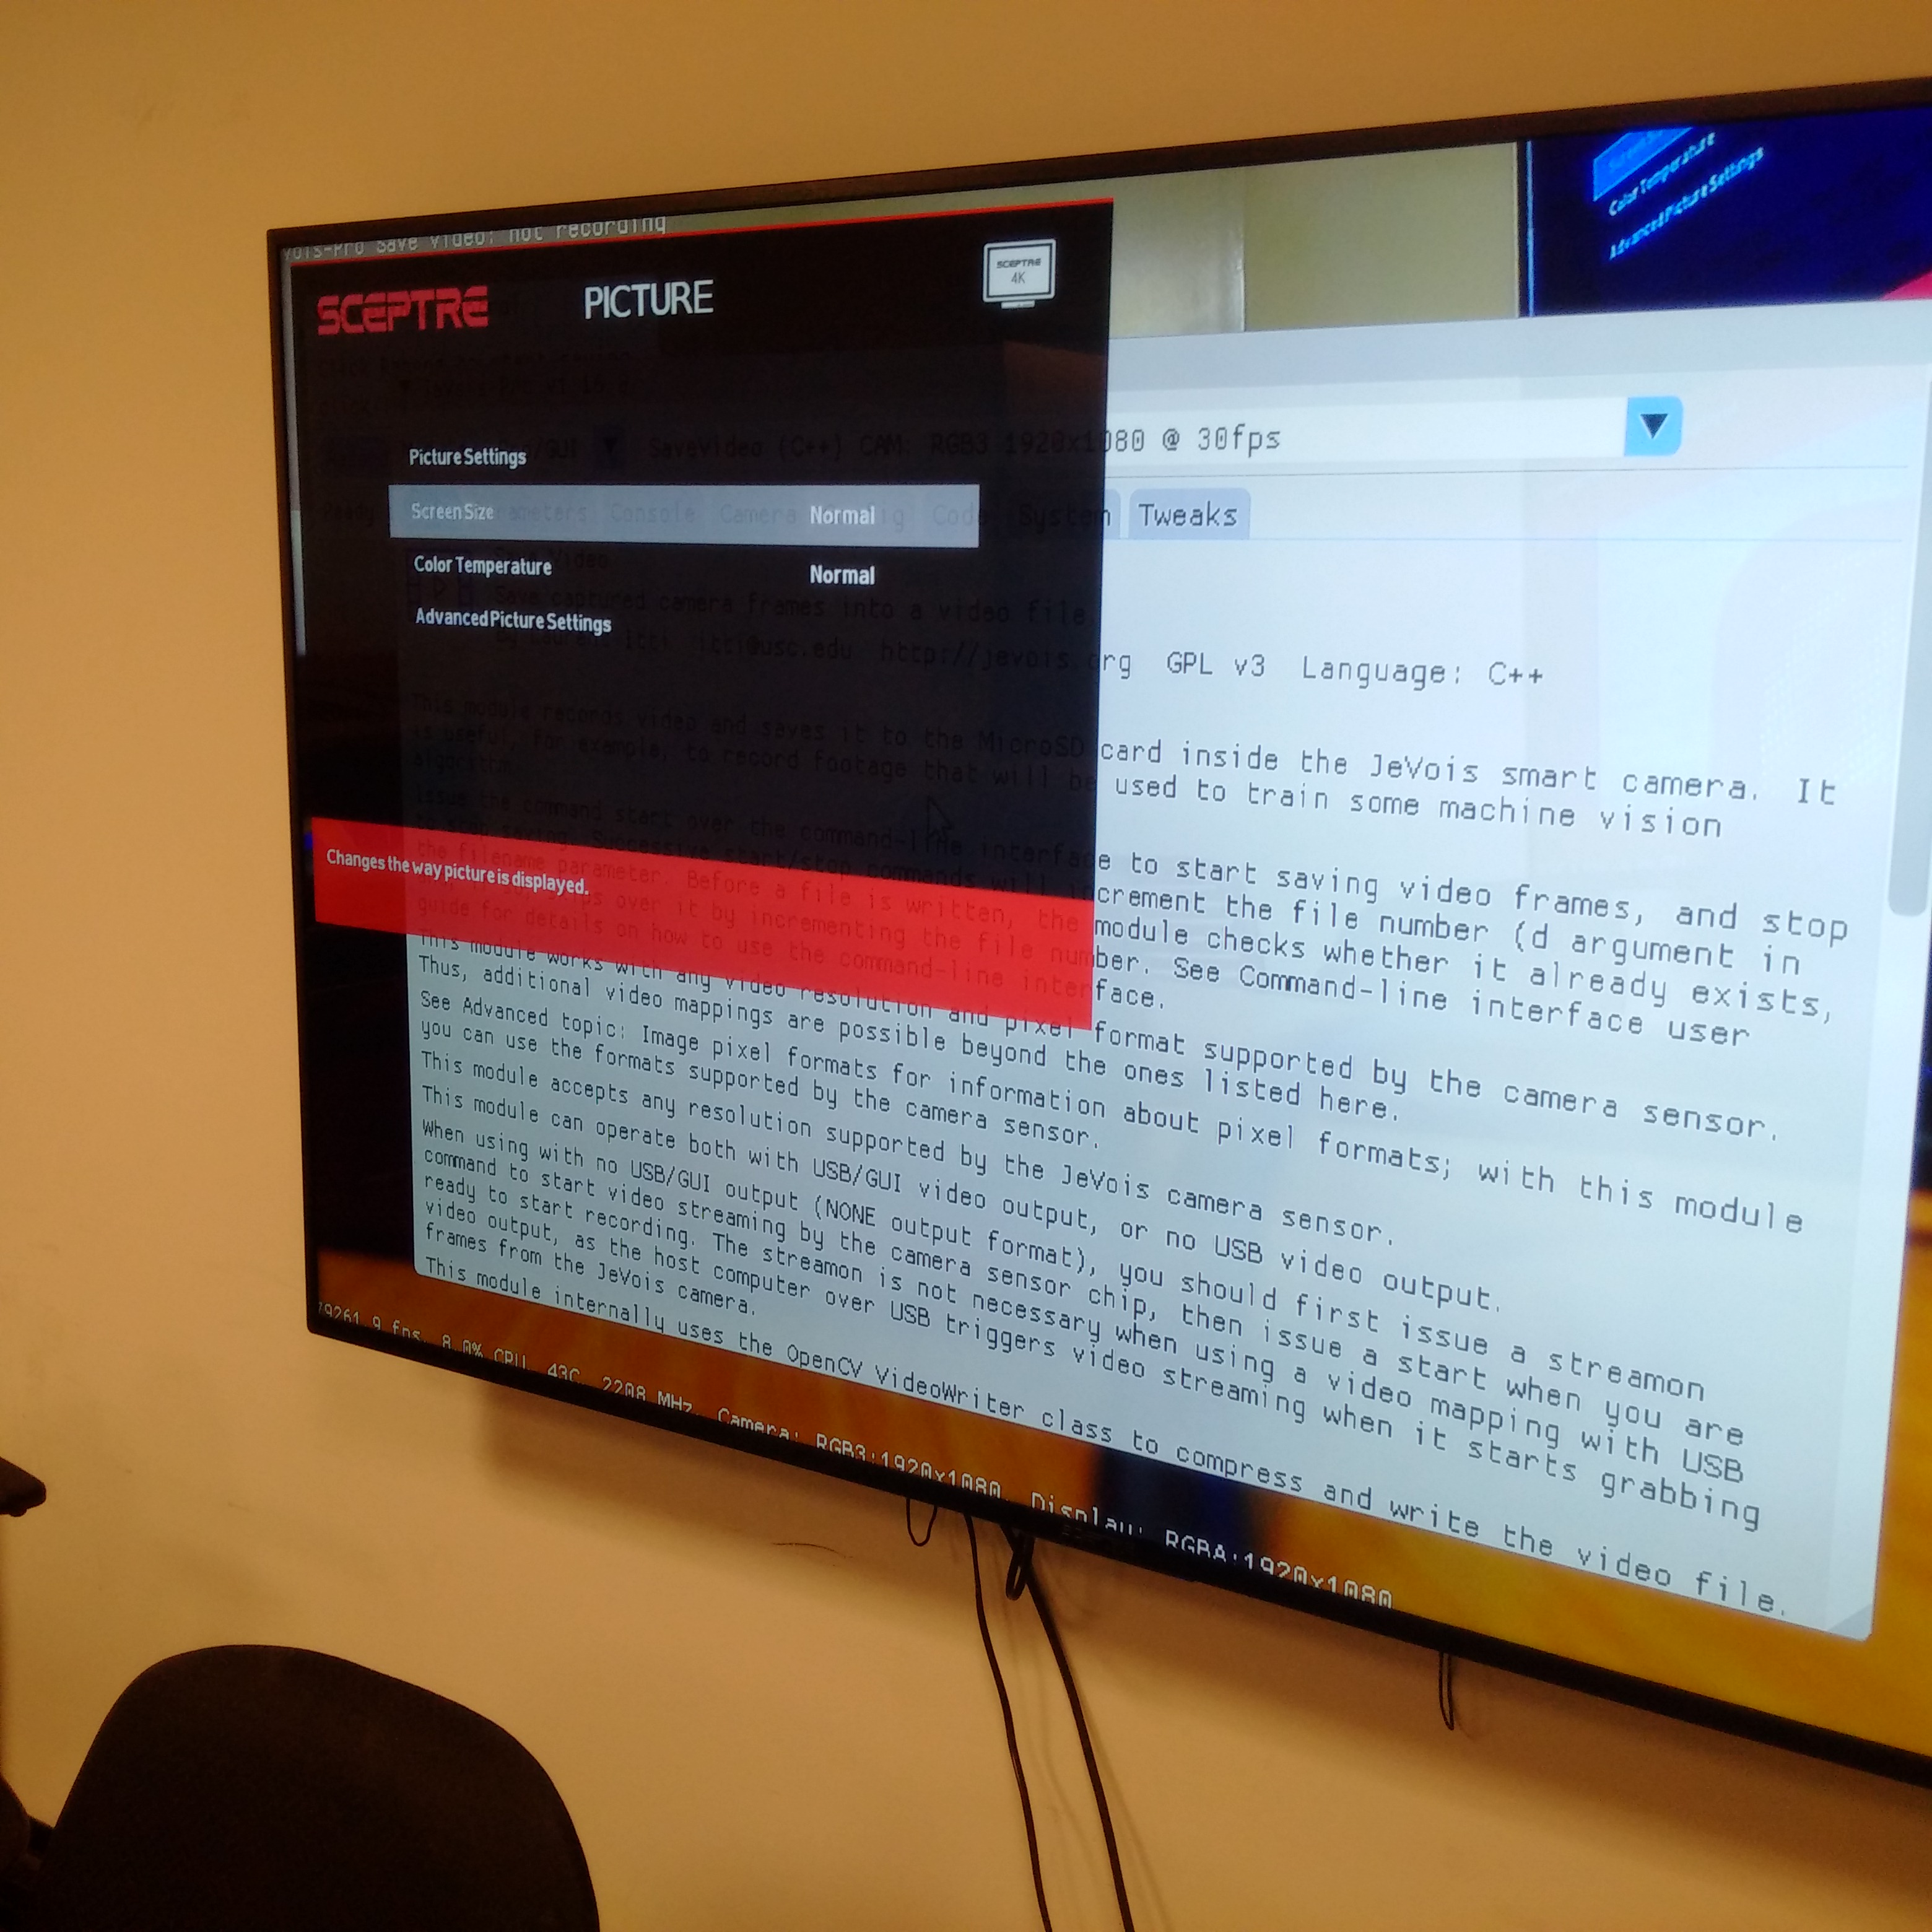
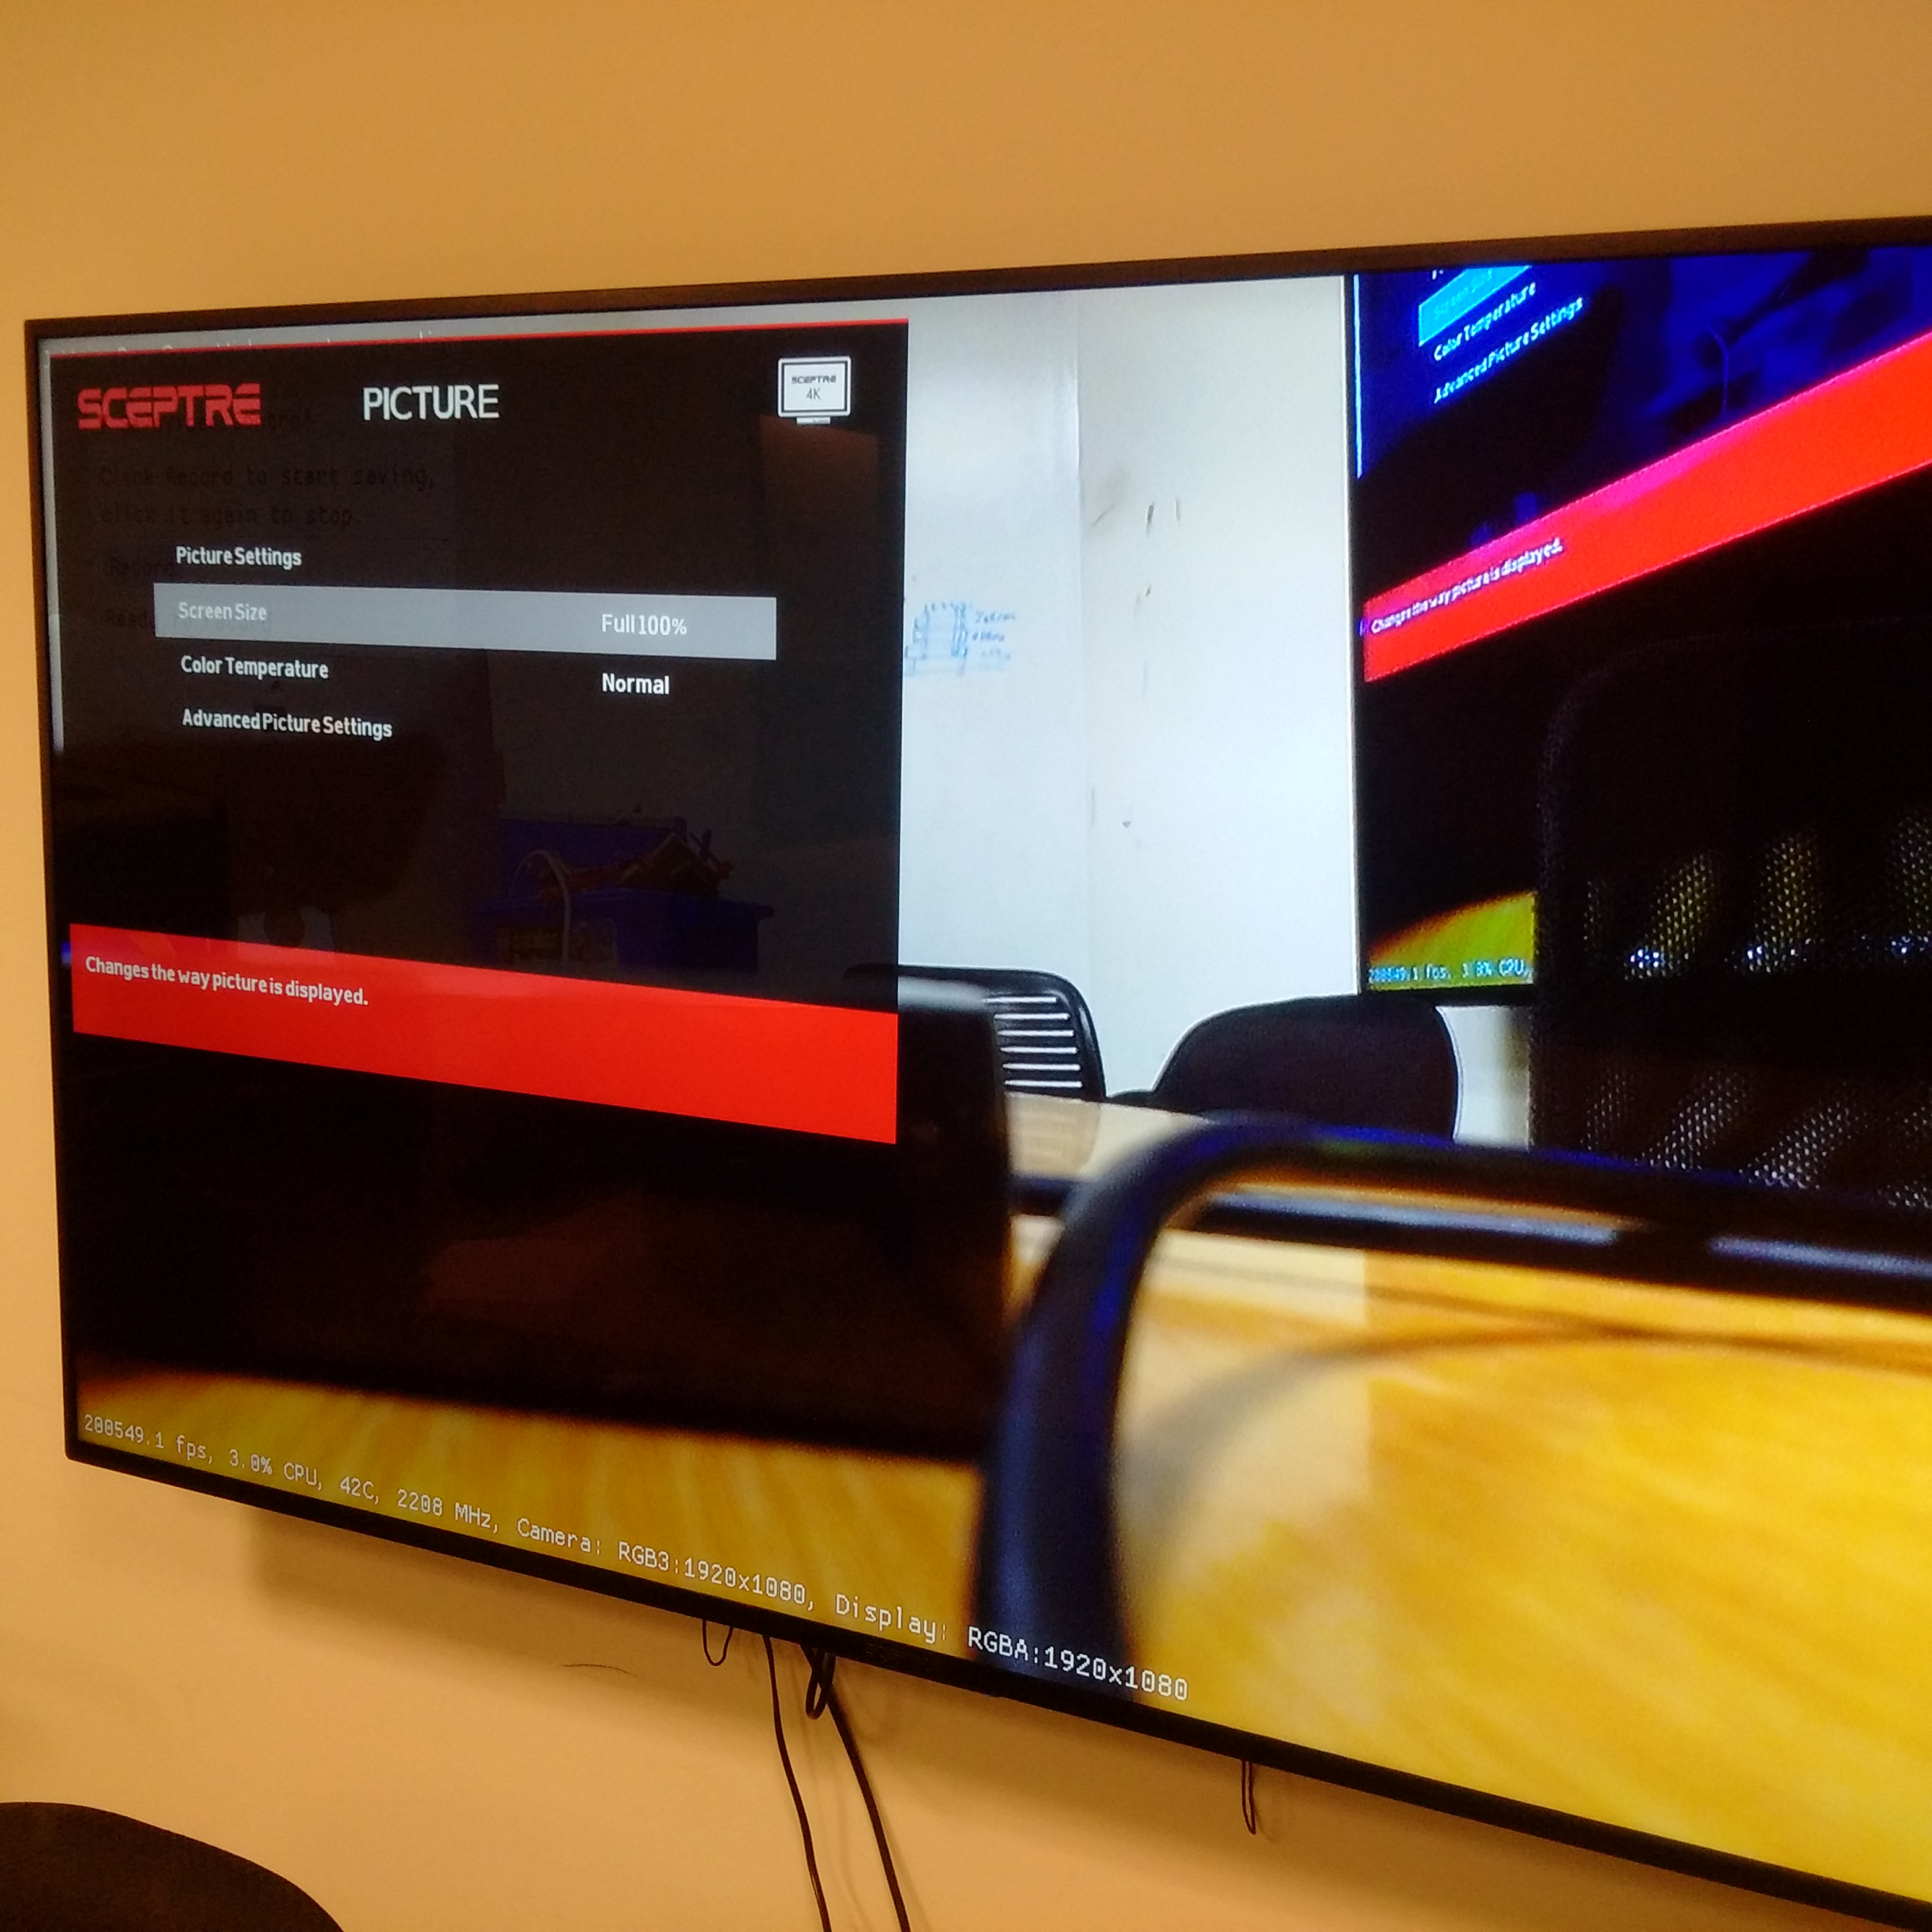
hdmi=1080p30hz and replace 30 by 60The top and bottom of the video are clipped. Many televisions indeed crop the picture slightly by default. You need to go through the menus of your television and find a picture setting for "full native", "full resolution", "full 100%", etc. Here is an example with a Sceptre 4K TV:

Above: in normal mode on this TV, the picture is cropped slightly (see the line of text at the bottom of the screen). Click on picture to enlarge.

Above: Using the TV's remote to set the TV to "full 100%" eliminates the cropping. Click on picture to enlarge.
Under the System tab of the GUI, you can select different boot modes for JeVois-Pro:
Once you are in either console or graphical mode, issue these commands in a terminal to switch:
Then
Unplug power and plug it back in.
User jevois has password jevois and is capable of sudo (using that password).
User root has password jevois
JeVois-Pro software runs as root by default.
If you have switched to Console boot, after you login (either as jevois/jevois or root/jevois), you can start the JeVois software from the command-line:
Note that the GPU drivers provided by ARM for our chip (Amlogic A311D) work in full-screen framebuffer mode only. So they work perfectly when booting in JeVois-Pro mode or Console mode. But if you run sudo jevoispro.sh from a terminal in X-windows, you will get conflicts between two graphical interfaces (X-windows and the JeVois GUI). You will see 2 mouse pointers, some X windows will refresh on top of the JeVois display, etc. Thus, if you want to run jevoispro.sh manually, do it from the console mode.
When you are in console mode, you can start X-windows by typing:
and when you logout from X, you will get back to your console.
This is very useful for development. You would do as follows:
jevoispro.shallowquit parameter of the Graphical User Interface (you need to turn on showing system parameters first). Or you could also start with jevoispro.sh --gui --allowquit which will allow you to exit JeVois software when you press the ESC key.startx and logout from it when you are done.jevoispro.sh again, etc.See JeVois-Pro: Connecting to a wired or WiFi network
Do this by editing the hdmi value in /boot/env.txt on the microSD card. For example, for 4K at 30Hz:
hdmi=2160p30hz
Note that the camera will overall run a bit slower at 4K than at the default 1080p. We posit that this is due to more contention on the memory bus, as we use DMA all the way from camera sensor to GPU to display, so the CPU workload should not significantly increase at 4K.
Overclocking the CPU to 2.4 GHz (big cores, default is 2.208 GHz) and 2.208 GHz (little cores, default 1.8 GHz) is quite stable in our testing, especially if you make sure your cooling is strong (see JeVois-Pro Adjusting Fan Speed to edit fan settings).
First, you need to enable overcloking by editing /boot/env.txt on the microSD card:
This just sets the maximum possible frequency. But by default, the operating frequencies are still 2.2/1.8 GHz at boot time.
Then reboot JeVois-Pro and, in the GUI, select the Parameters tab, then enable "Show System Parameters", and under "Engine
Options" you can set the desired cpu max speeds. You can set those values in the params.cfg config file (see Config tab in the GUI) if you want them to be the default at boot time.